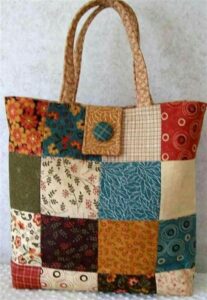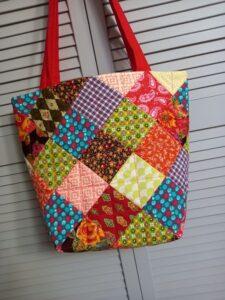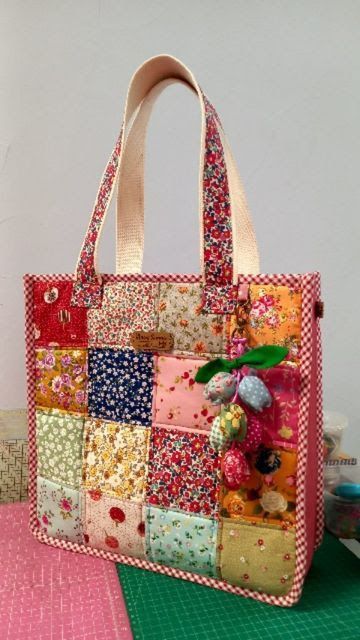
How To Make 5 Types of Patchwork Bags
Patchwork sewing is a beautiful way to reuse fabric scraps and transform them into something practical and stylish. A patchwork bag is not only eco-friendly but also full of personality, since each piece of fabric tells its own story. In this article, you’ll learn how to make your own patchwork bag from start to finish.
Materials You Will Need
-
Fabric scraps in different colors and prints (cotton is best)
-
Lining fabric (plain cotton or canvas)
-
Fusible interfacing (for structure)
-
Sewing machine and thread
-
Scissors or rotary cutter
-
Pins or clips
-
Measuring tape or ruler
-
Two handles (you can use fabric straps, leather, or pre-made bag handles)
-
Iron
Step 1: Preparing the Patchwork Panel
Start by cutting your fabric scraps into equal squares or rectangles, typically 4 × 4 inches (10 × 10 cm). Arrange them on a flat surface until you are satisfied with the color and pattern balance. Sew the pieces together row by row, using a ¼-inch seam allowance. After completing each row, press the seams flat with an iron, then join the rows to create a large patchwork panel. This will form the outside of your bag.
Step 2: Adding Structure and Lining
Cut a piece of fusible interfacing the same size as your patchwork panel. Fuse it to the back of the patchwork fabric with an iron to give the bag stability. Next, cut a piece of lining fabric the same size as the patchwork panel. If you want an inside pocket, sew it onto the lining before assembling the bag.
Step 3: Sewing the Bag Body
Fold the patchwork panel in half, right sides together, to form a rectangle. Sew along the sides and bottom, leaving the top open. Repeat the same with the lining fabric, but leave a small opening at the bottom to turn the bag later. To create a flat bottom, pinch each corner of the bag, align the seams, and sew across about 2 inches from the tip. Trim the excess fabric.
Step 4: Attaching the Lining and Handles
Place the patchwork bag (still inside out) inside the lining bag (right sides facing each other). Position the handles between the two layers at the top edge, making sure they are evenly spaced. Pin everything in place. Sew around the top edge of the bag completely. Turn the bag right side out through the opening in the lining, then stitch the lining closed. Press the bag neatly with an iron.
Step 5: Finishing Touches
Once the bag is fully assembled, topstitch around the upper edge to give it a clean finish and secure the handles. You can add embellishments such as buttons, embroidery, or decorative stitching to personalize your bag even more. Your patchwork bag is now ready to use — a unique accessory made with your own creativity and leftover fabrics.
✨ A patchwork bag is the perfect beginner project: it combines simple sewing techniques with the charm of upcycled materials. With practice, you can experiment with different shapes, closures (like zippers or magnetic snaps), and even quilted padding for extra durability.
Would you like me to also prepare a shorter “pattern-style” version (with measurements and cutting instructions) that you can print out and keep in your sewing kit?