
How to Make a Christmas Tree Quilt
How to Make a Christmas Tree Quilt: A Step-by-Step Guide
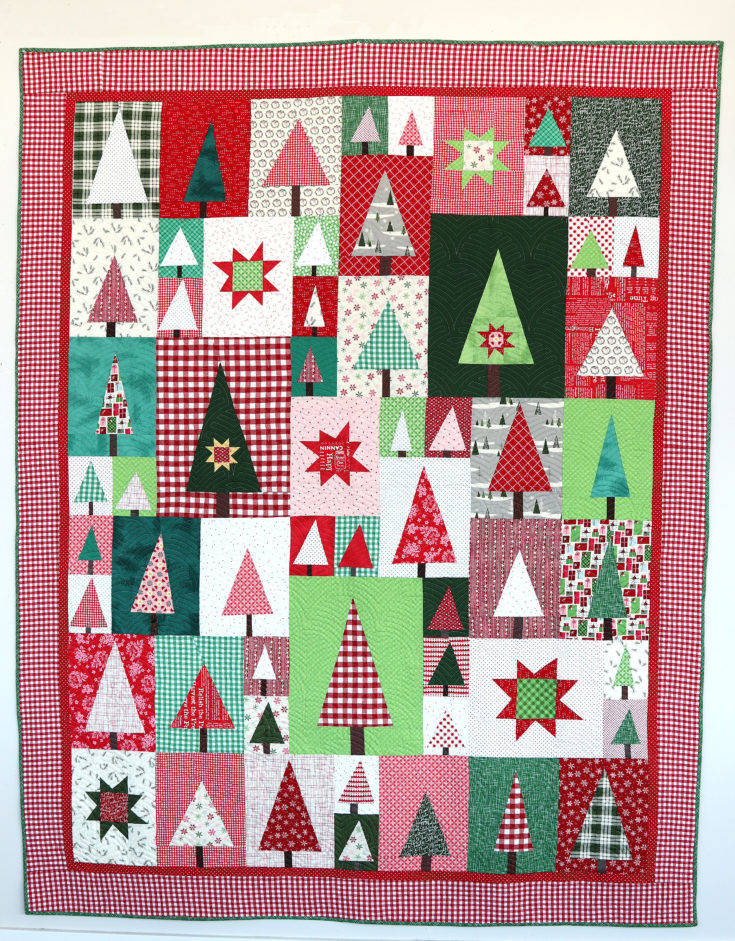
A Christmas tree quilt is a wonderful addition to your holiday decor. It can be used as a festive wall hanging, a table runner, or even as a cozy blanket to snuggle under during the holiday season. Whether you’re an experienced quilter or just beginning, making a Christmas tree quilt is a fun and rewarding project. In this guide, we’ll walk you through the steps to create your own Christmas tree quilt.
Materials You’ll Need
Before you start, make sure you have the following materials:
- Fabric: Choose holiday-themed fabrics in various shades of green for the tree, as well as red, gold, white, or other colors for decorations. You can also include a background fabric (white, blue, or a color that contrasts with the tree).
- Quilting Cotton: This is the most common fabric type for quilting and comes in various colors and prints.
- Rotary Cutter: For cutting precise fabric pieces.
- Cutting Mat: A self-healing mat for safe cutting.
- Quilting Ruler: Helps with measuring and cutting straight lines.
- Thread: A color that complements your fabrics for piecing and quilting.
- Sewing Machine: For piecing together the quilt top.
- Pins: To hold fabric pieces in place while sewing.
- Batting: The middle layer of the quilt for warmth and thickness.
- Backing Fabric: The fabric for the back of the quilt.
- Quilt Binding: To finish the edges of the quilt.
Step-by-Step Instructions
1. Plan Your Design
First, decide on the layout of your quilt. A classic Christmas tree quilt design often features rows of triangle pieces that form the shape of a tree. You can find quilt patterns online or create your own design using graph paper. Decide on the size of the quilt and the dimensions of each section.
2. Cut the Fabric Pieces
Using your quilting ruler, rotary cutter, and cutting mat, cut the following fabric pieces:
- Tree Sections: Cut green fabric into triangle or rectangle shapes that will make up the tiers of the tree. The top section should be smaller than the base section, with each subsequent layer getting larger.
- Background: Cut fabric for the background, making sure it is large enough to accommodate the tree and any additional elements you plan to add.
- Decorations: Cut out smaller pieces from fabrics for ornaments, garlands, or a star for the top of the tree.
3. Assemble the Tree Layers
- Lay Out the Pieces: Arrange your green fabric triangles on the background fabric to form the shape of a Christmas tree. This helps you see how the pieces will fit together and allows you to make adjustments before sewing.
- Sew the Pieces Together: Starting from the bottom row, sew the fabric pieces together using a 1/4-inch seam allowance. Continue adding rows until the entire tree is complete. Be sure to press the seams flat after sewing each row.
- Add Decorations: Attach decorative fabric pieces, such as small circles for ornaments or strips for garlands, to embellish the tree.
4. Create the Quilt Sandwich
- Layer the Quilt: Lay the backing fabric, batting, and quilt top (with the tree) on a flat surface. Smooth each layer to remove wrinkles. Make sure the backing fabric is larger than the quilt top to allow for the binding.
- Pin the Layers: Use quilting pins or safety pins to secure the three layers together, starting from the center and working your way out to prevent puckering.
5. Quilt the Layers Together
- Stitch in the Ditch: Sew along the seams between the tree sections to hold the quilt layers together. This technique, known as “stitch in the ditch,” helps define the tree shape and adds texture.
- Add Decorative Quilting: Optionally, quilt additional patterns, such as swirls or stars, to enhance the look of the quilt.
- Quilt the Background: If you want, you can quilt the background in a simple pattern to create contrast with the tree.
6. Bind the Quilt
- Prepare the Binding: Cut strips of fabric about 2.5 inches wide and join them end-to-end to create one long strip. Fold it in half lengthwise and press.
- Attach the Binding: Sew the folded binding to the front of the quilt, aligning the raw edges. Turn the binding to the back and hand-stitch or machine-stitch it down for a clean finish.
7. Final Touches
- Label: If you’d like, add a label to the back of the quilt with the year and your name.
- Decorate: You can add additional embellishments, like small fabric buttons or embroidered details, to personalize your quilt further.
Tips for Success
- Use Quality Fabric: Choose quilting cottons or other high-quality fabrics for the best results.
- Press as You Go: Press your seams and sections as you go to keep the quilt top neat.
- Take Your Time: Quilting is a detailed process, so be patient and don’t rush. It’s all part of the fun!
- Practice: If you’re new to quilting, practice sewing on scrap fabric before starting your main project.
Conclusion
Creating a Christmas tree quilt is a wonderful way to celebrate the season and showcase your crafting skills. This project can be as simple or as intricate as you’d like, with room for personalization and creativity. Whether displayed on a wall, draped over a chair, or used as a cozy holiday blanket, a homemade Christmas tree quilt will bring warmth and festive cheer to your home for years to come. Happy quilting!