
How to Make a Little Blocks Christmas Quilt
How to Make a Little Blocks Christmas Quilt: A Step-by-Step Guide
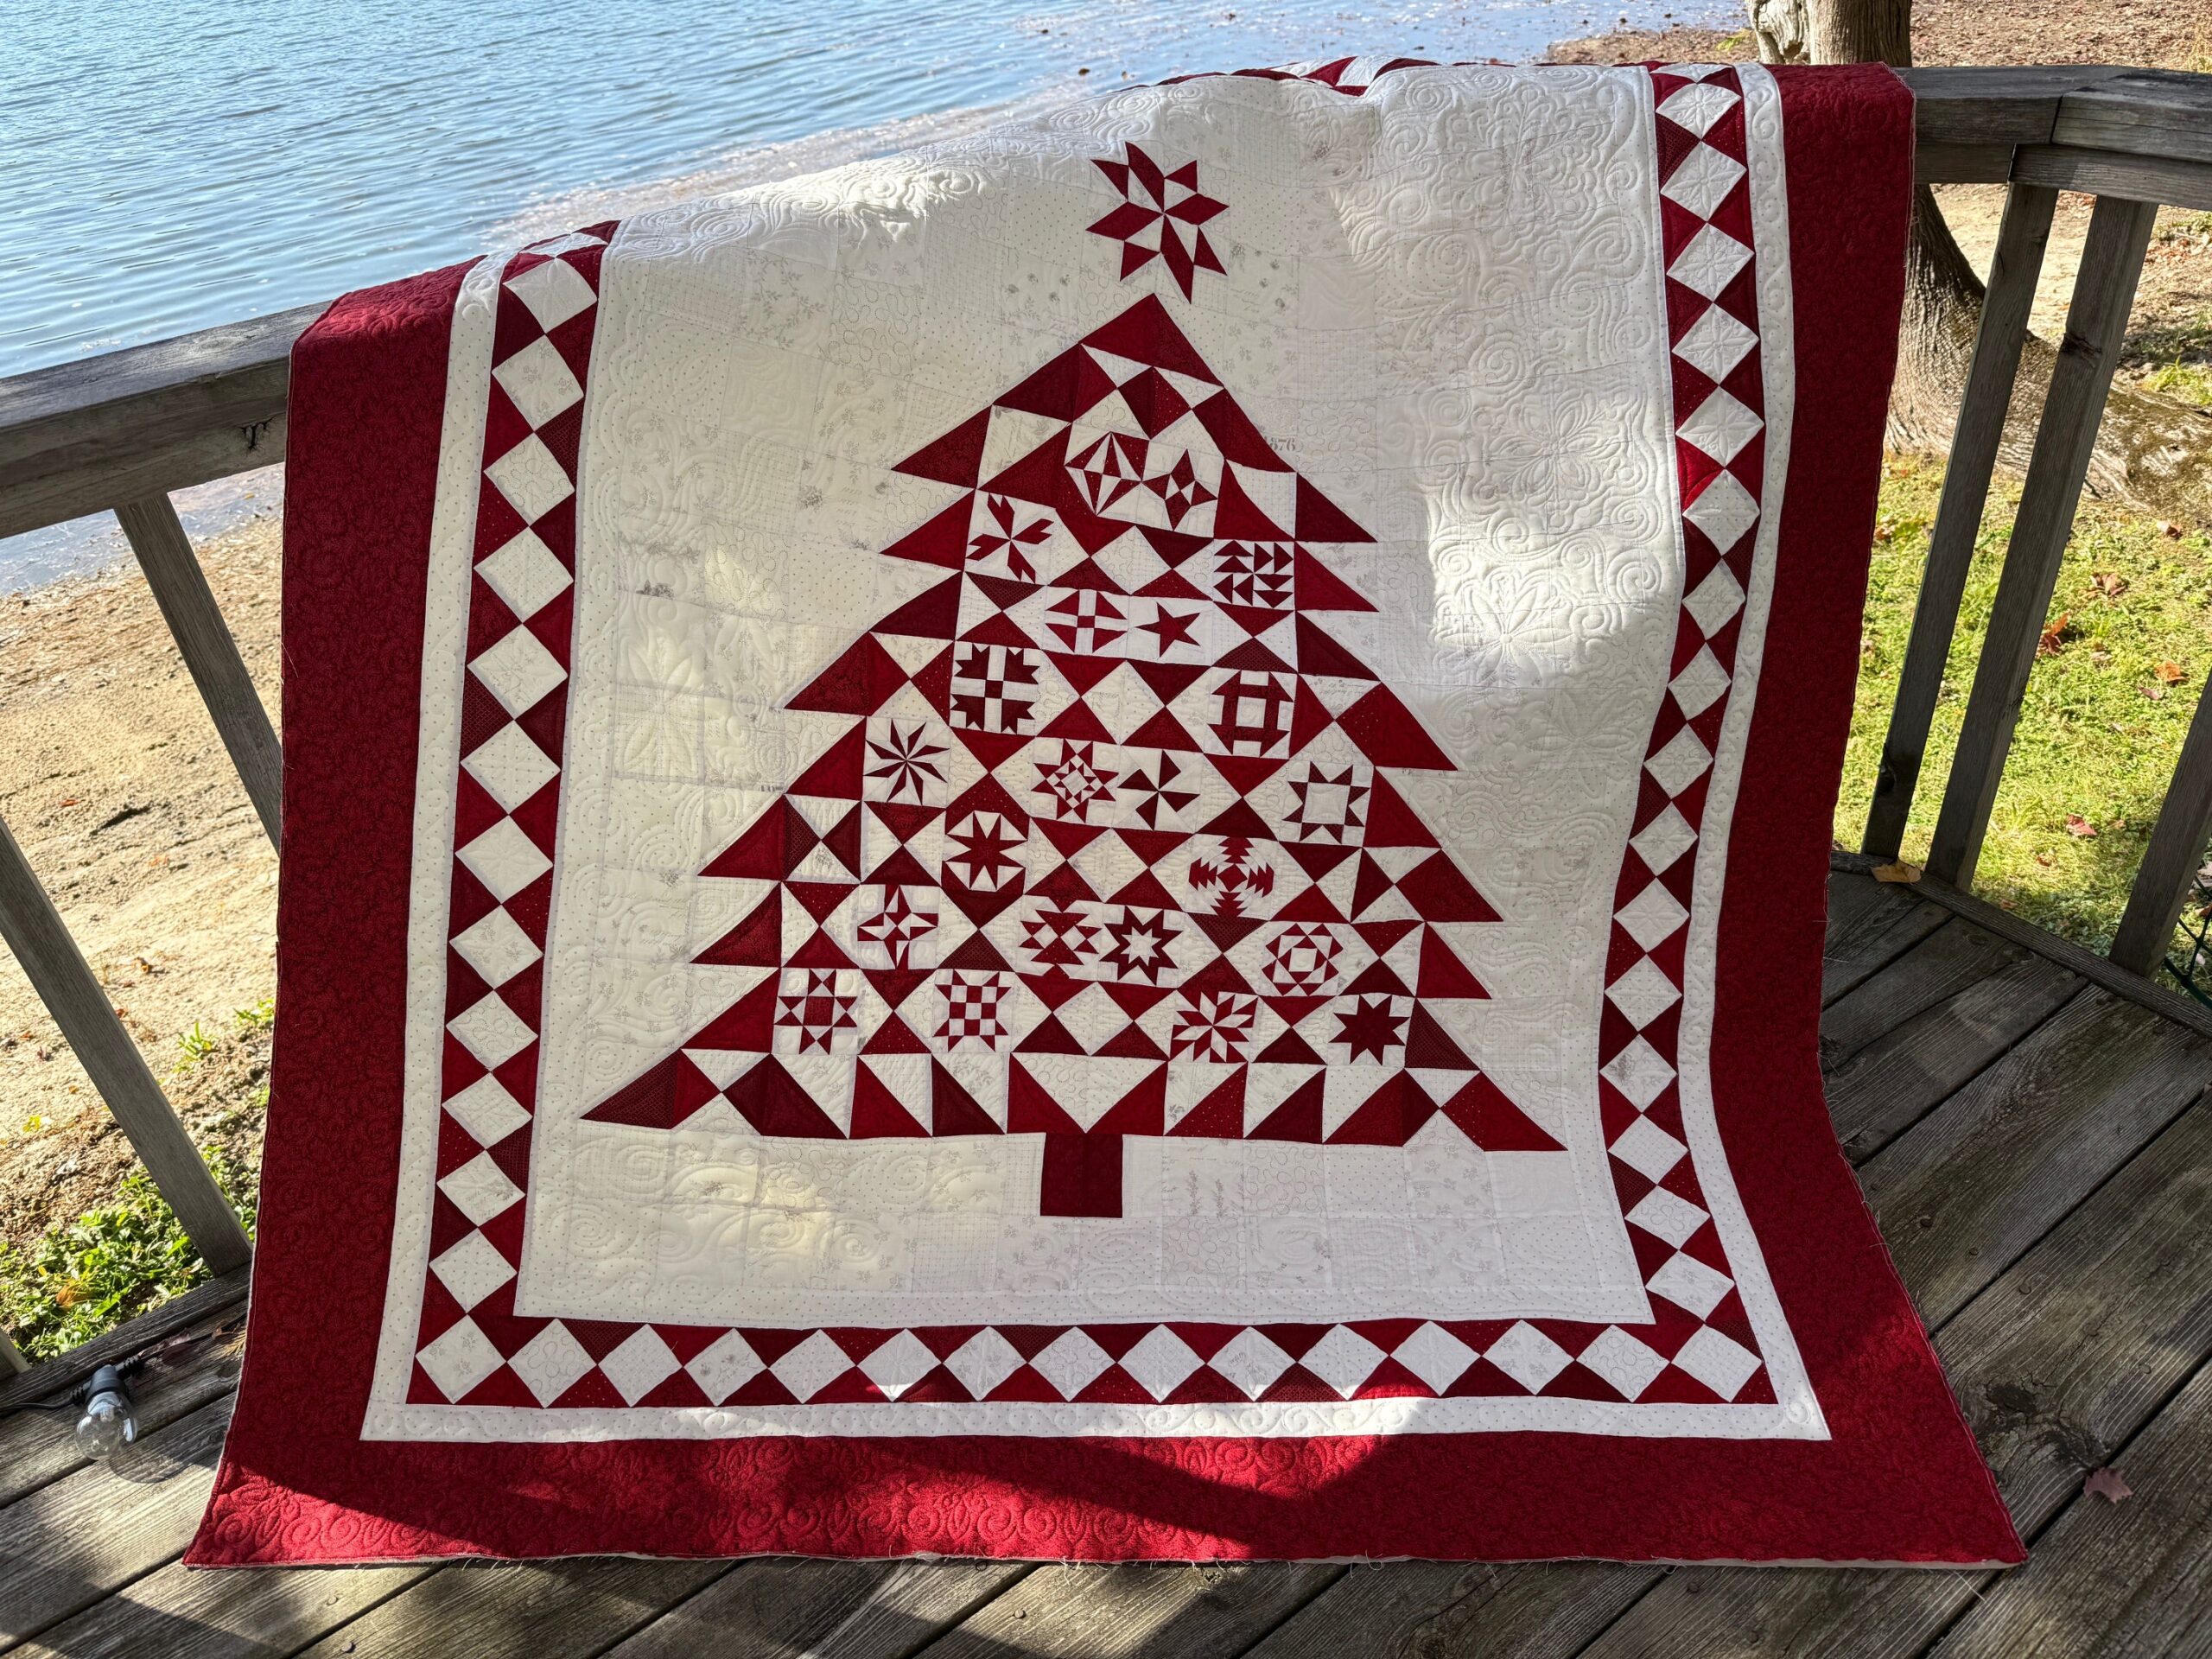
The Little Blocks Christmas Quilt is a charming and festive project that is perfect for brightening up your holiday decor. This quilt is designed using small quilt blocks that come together to create a warm and inviting Christmas-themed pattern. Ideal for quilters of all skill levels, this project can be customized with a variety of fabrics and designs to make it uniquely yours. Whether you want to create a quilt to hang on your wall, use as a table runner, or wrap yourself up in, this guide will help you get started on making your very own Little Blocks Christmas Quilt.
Materials You’ll Need
Before you start quilting, gather the following supplies:
- Fabric: Choose a variety of Christmas-themed fabrics, such as holly prints, plaids, stripes, and solid colors in traditional red, green, white, gold, and silver. You’ll also need a neutral background fabric (like white or cream) to help the holiday colors pop.
- Quilting Cotton: This type of fabric is most commonly used for quilting due to its durability and ease of handling.
- Rotary Cutter: For cutting precise fabric pieces.
- Cutting Mat: A self-healing mat for cutting.
- Quilting Ruler: Helps with measuring and cutting straight lines.
- Thread: Choose a thread color that matches or contrasts well with your fabrics.
- Sewing Machine: For piecing the blocks and quilting the quilt top.
- Pins: To secure fabric pieces while sewing.
- Batting: The middle layer of the quilt that provides warmth and thickness.
- Backing Fabric: The fabric for the back of the quilt.
- Quilt Binding: To finish the edges of the quilt.
Step-by-Step Instructions
1. Plan Your Design
Start by sketching out a plan for your quilt layout. A typical Little Blocks Christmas Quilt is made up of small, simple blocks that can be arranged in a grid pattern. Popular block designs for this type of quilt include simple squares, half-square triangles, and strip blocks that create a variety of festive patterns. Decide on the size of your blocks and how many you need to complete the quilt.
2. Cut the Fabric Pieces
Using your rotary cutter, quilting ruler, and cutting mat, cut your fabric into the appropriate sizes. Here’s what you’ll need:
- Block Squares: Cut squares for each block. The size of the square will depend on your desired block size; for example, if you want a 6-inch finished block, cut each square to 6.5 inches (adding a 1/4-inch seam allowance).
- Half-Square Triangles (Optional): Cut fabric into squares that will be used for making half-square triangles. For a 3-inch finished triangle, cut squares that are 3.5 inches.
- Background Pieces: Cut pieces of the background fabric to match the size of your blocks.
3. Assemble the Blocks
- Sew the Blocks Together: Begin by sewing the pieces together to create the individual quilt blocks. Use a 1/4-inch seam allowance for all seams. Press the seams open or to one side after each step.
- Combine Blocks into a Quilt Top: Arrange the completed blocks in your chosen pattern. Make sure the layout looks balanced and visually appealing before sewing the blocks together.
4. Assemble the Quilt Top
- Sew the Blocks Together: Join the blocks row by row, using a 1/4-inch seam allowance. Press the seams after each row to keep the quilt top neat and flat.
- Add Sashing (Optional): If you want to create a separation between your blocks, add strips of sashing fabric between them. This can help define each block and add a finished look to the quilt.
5. Create the Quilt Sandwich
- Layer the Quilt: Lay out the backing fabric (right side down), batting, and quilt top (right side up) on a flat surface. Smooth each layer to remove any wrinkles.
- Pin the Layers: Use quilting pins or safety pins to secure the layers together, starting from the center and working your way out to prevent puckering.
6. Quilt the Layers
- Choose a Quilting Design: Select a simple quilting design, such as straight-line quilting, to add texture and hold the quilt layers together. You can quilt along the seams or create geometric patterns across the entire quilt.
- Stitch Through All Layers: Use your sewing machine to quilt through all layers. Start from the center and move outward to avoid puckering.
7. Bind the Quilt
- Prepare the Binding: Cut strips of fabric approximately 2.5 inches wide. Join the strips end-to-end to create one continuous strip, fold it in half lengthwise, and press.
- Attach the Binding: Sew the folded binding to the front of the quilt, aligning the raw edges. Fold it over to the back and hand-stitch or machine-stitch it down to secure the binding.
8. Final Touches
- Label: Add a label with the date and your name to make the quilt even more special.
- Embellishments (Optional): Add small appliqué or embroidery details, like stars or snowflakes, to enhance the Christmas theme.
Tips for Success
- Plan Your Colors: Choose colors and fabrics that complement each other to create a cohesive design.
- Press as You Go: Press your seams after sewing each block and row to ensure the quilt stays flat and tidy.
- Practice: If you’re new to quilting, practice sewing on scrap fabric to get comfortable with your sewing machine and techniques.
- Add Texture: Consider using decorative stitches or quilting patterns to add depth and interest to the quilt.
Where to Use Your Little Blocks Christmas Quilt
The Little Blocks Christmas Quilt can be used in a variety of ways:
- Wall Hanging: Hang it as a decorative piece in your living room or entryway.
- Table Runner: Place it on your holiday dining table for a festive touch.
- Throw Blanket: Use it as a cozy throw for your sofa or bed during the winter months.
- Gift: Give it as a thoughtful and unique Christmas gift to friends or family.
Conclusion
Making a Little Blocks Christmas Quilt is a fun and fulfilling way to celebrate the holiday season and showcase your quilting skills. This project can be customized with different block patterns, fabric choices, and quilting designs to make it your own. Whether you’re making it for your home or as a gift, this quilt is sure to bring joy and warmth to anyone who sees it. Happy quilting, and enjoy your Christmas creation!