
Quilted Poncho With Scraps
Materials Needed
-
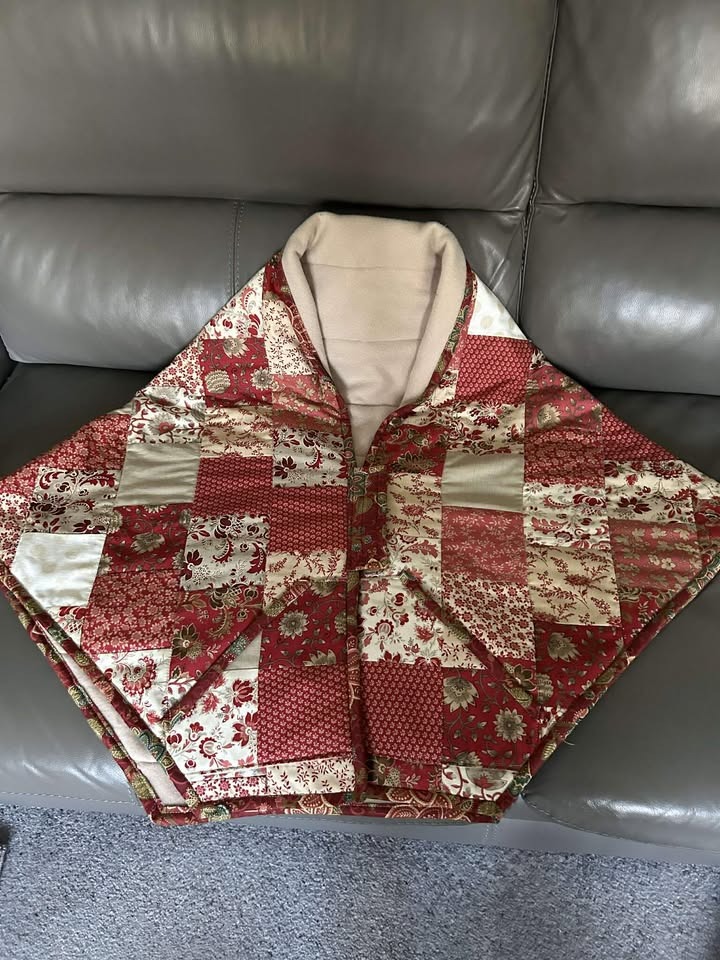
Fabric Squares: About 60 to 80 squares (5×5 inches or 6×6 inches) in coordinated red and cream floral patterns.
-
Lining Fabric: A soft fleece or sherpa fabric in a cream/beige color.
-
Batting (Optional): If you want it extra warm, use a thin layer of cotton batting.
-
Binding: Matching fabric strips to finish the edges.
Step-by-Step Instructions
1. Prepare the Patchwork Top
-
Layout: Arrange your squares in a grid. A common size for this wrap is approximately 45″ x 60″ (roughly 9 squares wide by 12 squares long).
-
Piecing: Sew the squares together row by row using a 1/4″ seam allowance.
-
Pressing: Press all seams flat to ensure the blanket lays evenly.
2. Create the “Neck” Opening
-
To make it wearable like the one in the photo, you need to create a slit.
-
Find the center of one of the shorter sides.
-
Cut a straight line from the edge toward the center, stopping about halfway through the length of the quilt.
3. The Quilt Sandwich
-
Layer your patchwork top (face up), the batting (if using), and the fleece lining (face down).
-
Note: In the photo, the lining is folded over to create a collar, so make sure your lining is slightly longer at the neck area if you want that bulky collar effect.
-
Pin or baste the layers together.
4. Quilting
-
Sew the layers together. You can “stitch in the ditch” (sew along the lines of the squares) or do a simple straight-line quilt pattern to keep the layers from shifting.
5. Binding and Finishing
-
Edging: Use a bias tape or handmade binding strips to sew around the entire perimeter, including the inner slit you cut for the neck.
-
The Collar: The photo shows the lining being very prominent at the neck. To achieve this, don’t trim the fleece at the neck slit; instead, fold it outward before binding to create that plush lapel look.
6. Final Touches
-
Give the entire piece a final press with an iron.
-
You can add a large button or a toggle clasp at the chest level if you want to keep the wrap closed while walking.