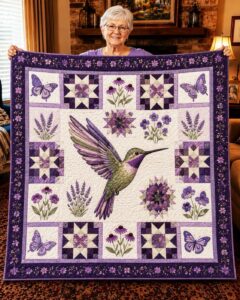
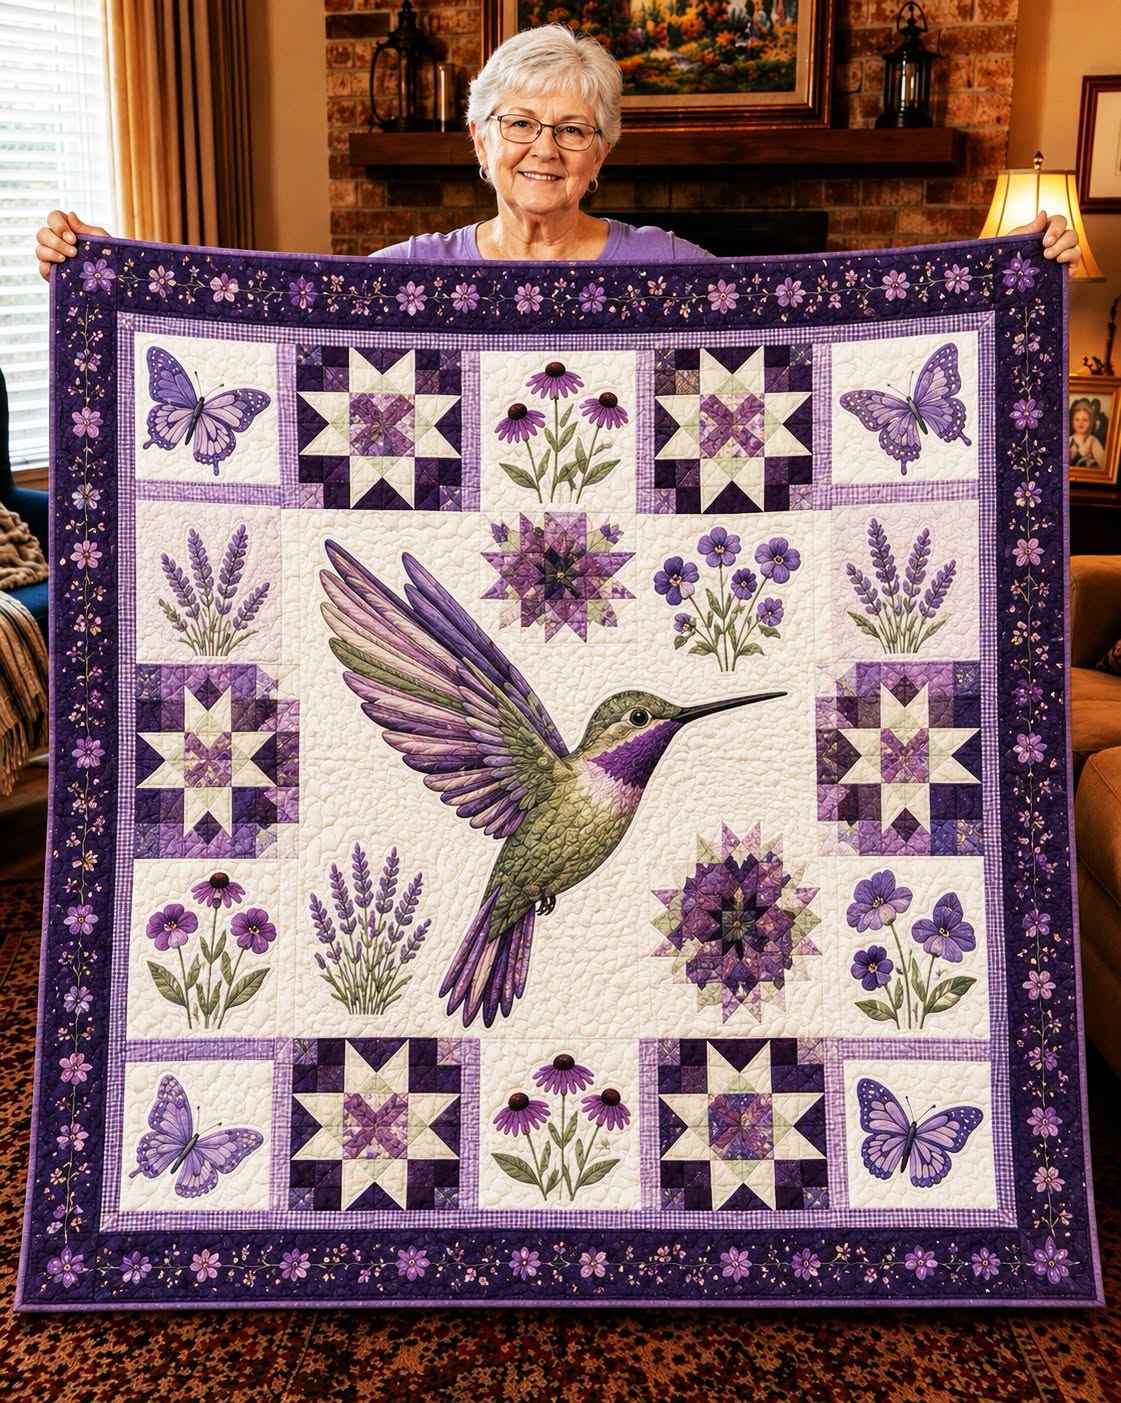
Purple Hummingbird Garden Quilt
Purple Hummingbird Garden Quilt Pattern – Floral Patchwork Quilt Tutorial with Star Blocks
Create a beautiful Purple Hummingbird Garden Quilt featuring elegant star blocks, floral panels, butterflies, and a stunning hummingbird centerpiece. Follow this beginner-to-intermediate quilting tutorial for a timeless heirloom quilt.
Purple Hummingbird Garden Quilt Pattern
Bring the beauty of nature into your sewing room with this elegant Purple Hummingbird Garden Quilt. Featuring a majestic hummingbird surrounded by lavender flowers, butterflies, and classic star quilt blocks, this project combines piecing and printed fabric panels into a stunning heirloom quilt.
Skill Level: Intermediate
Finished Size: Approximately 60″ × 60″ (152 × 152 cm)
Materials
- 1 hummingbird center panel (approximately 20″ × 20″)
- 8 star quilt blocks (8″ finished)
- 8 floral print panels
- 4 butterfly print panels
- Purple floral border fabric
- Light cream background fabric
- Various purple fabrics (light, medium, dark)
- Green accent fabric
- Cotton batting
- Quilt backing fabric
- Coordinating purple thread
- Rotary cutter
- Quilting ruler
- Cutting mat
- Sewing machine
- Iron and ironing board
Cutting Instructions
Background Fabric
- Cut strips for sashing (2½” wide)
- Cornerstones if desired
Purple Fabrics
Cut pieces for:
- Flying Geese units
- Half-Square Triangles
- Center squares
- Borders
Border Fabric
- Inner border: 2½” strips
- Outer floral border: 5″ strips (or desired width)
Step 1 – Make the Star Blocks
Create eight traditional eight-point star blocks.
Each block consists of:
- Center square
- Flying Geese units
- Corner squares
Press carefully after every seam.
Trim each block to exactly 8½” unfinished.
Step 2 – Prepare the Printed Panels
Square all floral and butterfly panels.
Suggested finished size:
- Floral Panels: 8″
- Butterfly Panels: 8″
- Center Panel: 20″
Add borders around the center panel if necessary to reach the desired size.
Step 3 – Plan the Layout
Arrange the quilt in rows.
Top Row:
- Butterfly
- Star Block
- Floral Panel
- Star Block
- Butterfly
Second Row:
- Lavender
- Hummingbird Center
- Purple Flowers
- Lavender
Third Row:
- Floral Panel
- Lavender
- Decorative Star
- Purple Flowers
Bottom Row:
- Butterfly
- Star Block
- Floral Panel
- Star Block
- Butterfly
Adjust spacing using cream sashing strips.
Step 4 – Assemble the Quilt Top
Sew each row together.
Press seams in alternating directions.
Join all rows carefully.
Measure frequently to keep the quilt square.
Step 5 – Add Borders
Attach:
- Thin inner purple border.
- Wide floral outer border.
Press flat.
Step 6 – Create the Quilt Sandwich
Layer:
- Backing
- Batting
- Quilt Top
Baste using pins or spray adhesive.
Step 7 – Quilting
Suggested quilting designs:
- Meandering around the hummingbird
- Feather motifs
- Echo quilting around flowers
- Crosshatching inside star blocks
- Swirls in the background
- Outline quilting around butterflies
Step 8 – Bind the Quilt
Cut binding strips:
- 2½” wide
Join strips diagonally.
Attach binding to the front.
Fold to the back and hand stitch or machine stitch.
Finished Quilt
Your Purple Hummingbird Garden Quilt combines classic patchwork with botanical elegance, making it a beautiful wall hanging, lap quilt, or treasured handmade gift.