Blooming Garden Appliqué
Blooming Garden Appliqué Quilt Pattern – Easy Step-by-Step Floral Quilt Tutorial
Learn how to create a beautiful Blooming Garden appliqué quilt featuring colorful floral blocks, soft pastel fabrics, and decorative borders. This beginner-friendly step-by-step tutorial includes fabric requirements, cutting instructions, appliqué tips, assembly, quilting, and binding.
Blooming Garden Appliqué Quilt Pattern
Finished Size
Approximately 70″ x 70″ (178 x 178 cm)
You can easily adjust the size by adding or removing floral blocks.
Skill Level
Intermediate
Techniques Used
- Fusible appliqué
- Machine or hand appliqué
- Patchwork
- Quilting
- Binding
Materials
Background Fabrics
- 3½ yards white or cream low-volume prints
- Assorted pastel prints (aqua, pink, mint, beige)
- Floral prints
- Small-scale vintage prints
Appliqué Fabrics
Choose colorful scraps in:
- Red
- Coral
- Pink
- Yellow
- Aqua
- Turquoise
- Mint
- Green
- Brown
- Beige
Additional Supplies
- Fusible web
- Lightweight interfacing (optional)
- Cotton batting
- Backing fabric (4½ yards)
- Binding fabric (½ yard)
Cutting Instructions
Floral Blocks
Cut 36 background squares
Size:
10½” × 10½”
Each square will contain one appliqué flower.
Inner Sashing
Cut strips:
- 2½” wide
Join to fit between blocks.
Decorative Borders
First Border
Cut:
2½” strips from pastel prints.
Scalloped Border (Optional)
Cut curved scallop pieces from aqua fabric or create with appliqué.
Outer Border
Piece together assorted floral fabrics until you have strips approximately:
5½” wide
Step 1 – Plan the Layout
Arrange the 36 background squares in a 6 × 6 layout.
Alternate:
- Large flowers
- Small flowers
- Circular floral motifs
- Tulips
- Daisy designs
- Geometric floral medallions
Keep the colors balanced across the quilt.
Step 2 – Create the Flower Templates
Draw or print flower templates.
Include:
- Petals
- Leaves
- Flower centers
- Buds
- Stems
Fuse the templates onto the wrong side of the fabrics.
Cut carefully along the edges.
Step 3 – Assemble Each Floral Block
Position the appliqué pieces on one background square.
Typical layering order:
- Stem
- Leaves
- Flower petals
- Flower center
- Decorative details
Fuse everything in place.
Step 4 – Stitch the Appliqué
Use one of the following stitches:
- Blanket stitch
- Satin stitch
- Zigzag stitch
- Straight stitch
- Hand blanket stitch
Work slowly around all curves.
Step 5 – Make Every Block Unique
Mix different:
- Petal shapes
- Leaf styles
- Flower sizes
- Fabric combinations
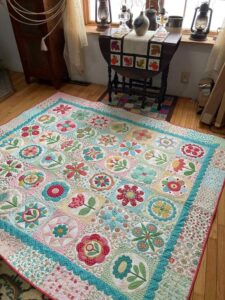
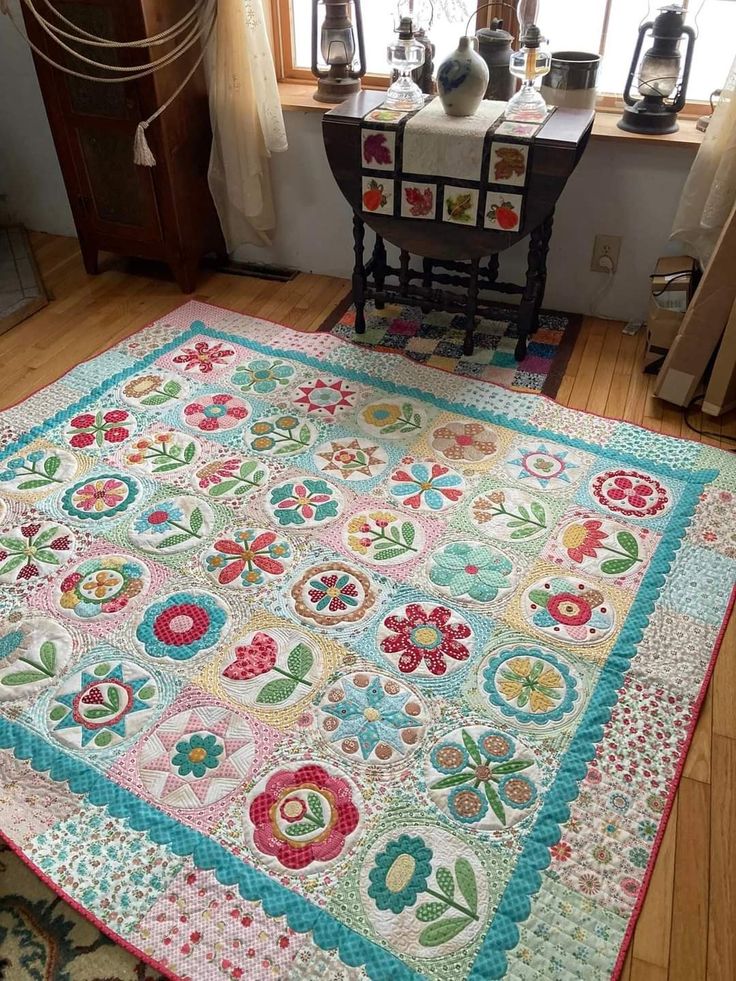
The original quilt has no repeated block, creating a charming vintage sampler look.
Step 6 – Arrange the Quilt
Lay all blocks on a design wall or floor.
Move them around until:
- Colors are evenly distributed
- Similar flowers are not touching
- Warm and cool colors are balanced
Take a photo before sewing.
Step 7 – Sew the Quilt Top
Join the blocks into rows.
Sew the rows together.
Press seams flat after each row.
Step 8 – Add the Borders
Attach:
- Inner pastel border
- Scalloped aqua border
- Wide scrappy floral outer border
Press after each border is attached.
Step 9 – Prepare the Quilt Sandwich
Layer:
- Backing (right side down)
- Batting
- Quilt top (right side up)
Smooth all layers.
Baste using pins or spray adhesive.
Step 10 – Quilt
Recommended quilting designs:
- Echo quilting around flowers
- Meandering stippling
- Gentle loops
- Leaf vines
- Swirls
- Crosshatch in borders
Avoid quilting too densely so the appliqué remains the focal point.
Step 11 – Trim and Bind
Trim excess batting and backing.
Prepare 2½-inch binding strips.
Join into one continuous strip.
Attach to the quilt front.
Fold to the back and finish by hand or machine.
Color Palette
- Aqua
- Turquoise
- Mint Green
- Soft Pink
- Coral
- Red
- Butter Yellow
- Beige
- Cream
- White
- Sage Green
This soft vintage-inspired palette gives the quilt its fresh cottage garden charm.
Design Tips
- Use low-volume prints for the backgrounds to make the flowers stand out.
- Mix florals, dots, stripes, and tiny prints for a scrappy vintage effect.
- Vary flower sizes and petal shapes to create a true sampler quilt.
- Keep the borders light and airy to frame the colorful appliqué blocks.
- Finish with gentle echo quilting to enhance each floral motif without overwhelming the design.
Finished Look: A cheerful vintage-inspired floral sampler quilt filled with colorful appliqué blooms, pastel patchwork, and elegant decorative borders—perfect for spring décor, cottage-style homes, or as a treasured heirloom gift.