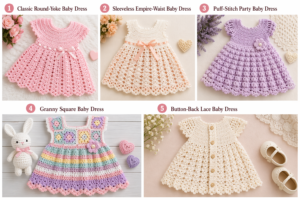
5 Beautiful Crochet Baby Dresses
Crocheting baby dresses is one of the sweetest and most rewarding projects for any crochet lover. Baby dresses work up quickly, use relatively small amounts of yarn, and let you explore beautiful stitches, soft textures, and delicate finishing touches. In this guide, you will learn how to make five different crochet baby dress styles, each with a complete step-by-step tutorial. These patterns are written in a clear and beginner-friendly way, while still looking elegant enough for gifts, special occasions, or everyday wear.
For all five dresses, use soft baby yarn such as light cotton, bamboo blend, or baby acrylic. A smooth yarn helps show the stitch definition and keeps the garment comfortable against delicate skin.
Materials You May Use for All Dresses
- Baby yarn, category 3 or light category 4
- Crochet hook that matches the yarn, usually 3.5 mm to 4.5 mm
- Stitch markers
- Yarn needle
- Small buttons or ribbon if desired
- Scissors
Common Abbreviations
- ch = chain
- sl st = slip stitch
- sc = single crochet
- hdc = half double crochet
- dc = double crochet
- inc = increase
- dec = decrease
- st = stitch
- sp = space
- rep = repeat
1. Classic Round-Yoke Baby Dress
This timeless crochet baby dress has a soft round yoke, a comfortable fit, and a lightly flared skirt. It is perfect for babies from newborn to 6 months, depending on yarn and hook size.
Step-by-Step Instructions
Step 1: Make the foundation chain
Chain 48. Be careful not to make the chain too tight. Join with a slip stitch to form a ring, making sure the chain is not twisted.
Step 2: Begin the neckline
Round 1: Chain 2, work 1 hdc in each chain around. Join with a slip stitch.
Round 2: Chain 2, work 1 hdc in the next 5 stitches, 2 hdc in the next stitch. Repeat this increase pattern around. Join.
This creates a gentle expansion so the yoke sits nicely over the shoulders.
Step 3: Shape the yoke
Rounds 3 to 6: Continue working hdc around. In each round, place increases evenly in 8 places around the dress. The easiest way is to use stitch markers so the increases stay balanced.
By the end of the yoke, it should lie flat and begin to look circular.
Step 4: Separate the sleeves
Lay the piece flat and divide it into front, sleeve, back, sleeve. For a small baby size, you can use:
- 14 stitches for front
- 10 stitches for first sleeve
- 14 stitches for back
- 10 stitches for second sleeve
Join from front to back with 4 chains under each arm. Skip the sleeve stitches.
Step 5: Crochet the bodice
Round 1 after sleeve separation: Work 1 dc in each stitch and 1 dc in each underarm chain. Join.
Rounds 2 to 5: Continue working dc evenly around.
This creates a neat bodice with a slightly more structured look.
Step 6: Start the skirt
Round 6: Chain 3, work 2 dc in every third stitch around. This begins the flare of the skirt.
Round 7: Work dc in every stitch.
Round 8: Repeat an increase round by placing 2 dc in every fourth stitch.
Rounds 9 to 14: Work evenly in dc or alternate one dc round and one hdc round for texture.
Step 7: Add a decorative edge
For the final round, make a shell border:
In one stitch work 5 dc, skip 2 stitches, sl st in next stitch. Repeat around.
This gives the hem a sweet scalloped finish.
Step 8: Finish the neckline
Work one round of sc around the neckline. If you want a back opening, do not join the neckline at the start. Instead, leave a slit and sew on one or two small buttons.
Step 9: Weave in the ends
Use a yarn needle to hide all loose ends neatly inside the dress.
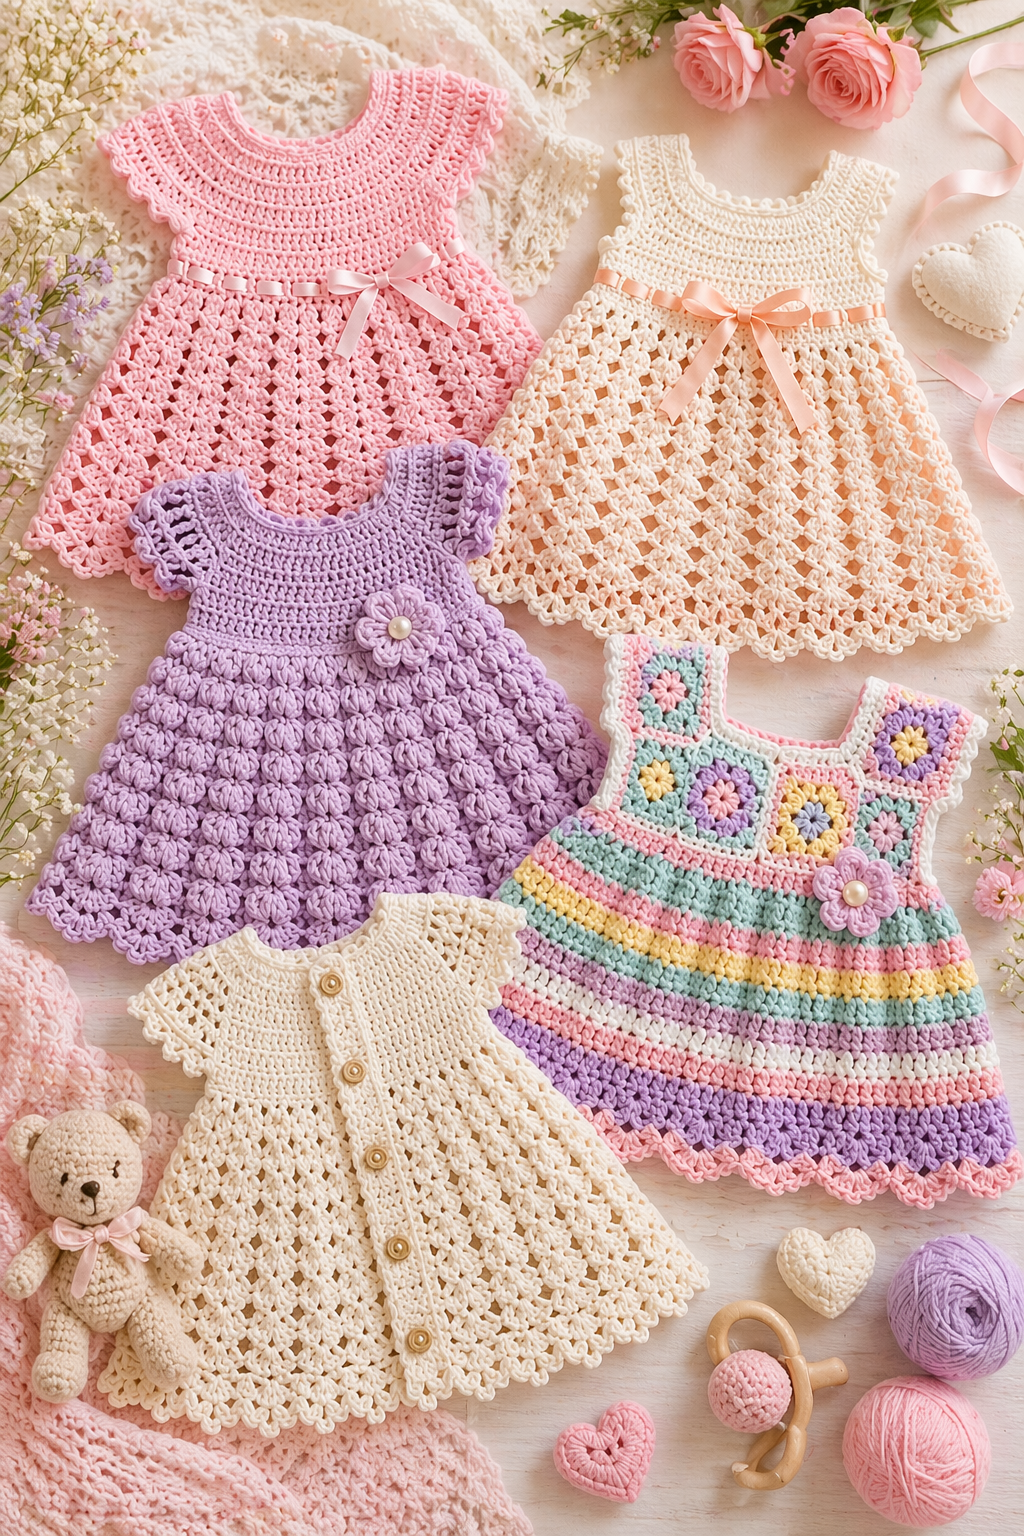
Image for this dress:
A classic crochet baby dress with a round yoke, short sleeves, soft flared skirt, and scalloped hem in pastel pink yarn.
2. Sleeveless Empire-Waist Baby Dress
This crochet baby dress style is light, airy, and ideal for warm weather. The empire waist sits high under the chest, giving the skirt a lovely drape.
Step-by-Step Instructions
Step 1: Crochet the top band
Chain 54. Join carefully into a ring.
Round 1: Chain 1, sc in each chain around. Join.
Rounds 2 to 4: Continue with sc in each stitch.
This narrow top section forms the chest band.
Step 2: Create armhole openings
Lay the band flat. Mark the front and back evenly.
Round 5: Work sc across front section, chain 6, skip 6 stitches for armhole, sc across back section, chain 6, skip 6 stitches for second armhole, join.
Step 3: Build the upper bodice
Round 6: Work hdc in every stitch and in each chain of the armholes.
Rounds 7 to 9: Continue with hdc around.
The dress should now have the basic sleeveless top shape.
Step 4: Define the empire waist
Round 10: Work 2 dc in every second stitch around. This doubles much of the stitch count and causes the skirt to open beautifully.
Step 5: Work the skirt in open lace
Round 11: Chain 4, skip 1 stitch, dc in next stitch. Repeat around.
Round 12: Chain 1, work 3 dc into each chain-1 space around.
Round 13: Work 1 dc in each dc.
Round 14: Chain 4, skip 2 stitches, dc in next stitch. Repeat around.
Repeat rounds 12 to 14 until the skirt reaches the desired length.
This combination creates a breathable and elegant lace skirt.
Step 6: Edge the armholes
Attach yarn to an armhole. Work one round of sc evenly around.
For a softer finish, add a second round using picot trim:
Sc in next stitch, ch 3, sl st into first chain, skip one stitch, sc in next stitch. Repeat around.
Do the same on the second armhole.
Step 7: Finish the hem
Work a simple shell or picot edging along the bottom of the skirt.
Step 8: Final assembly
If you want, thread a satin ribbon through the first lace row below the bodice. Tie it in a small bow at the front.
Image for this dress:
A sleeveless crochet baby dress with a fitted top, high empire waist, airy lace skirt, and ribbon detail in soft white or peach yarn.
3. Puff-Stitch Party Baby Dress
This style is perfect for special occasions. The puff stitches add lovely texture and make the dress look extra delicate and elegant.
Step-by-Step Instructions
Step 1: Start the yoke
Chain 52 and join into a ring.
Round 1: Chain 2, work hdc in each stitch around. Join.
Round 2: Divide the yoke into four sections using markers, similar to a raglan layout. For example:
- Front: 16 stitches
- Sleeve: 10 stitches
- Back: 16 stitches
- Sleeve: 10 stitches
Step 2: Increase the yoke
Round 3: Work hdc in each stitch. At each marker, work hdc, ch 1, hdc in the marked stitch area to create corner-style increases.
Rounds 4 to 7: Repeat the increase placement in each round.
The yoke will begin to grow in a square-raglan style.
Step 3: Separate the sleeves
Skip each sleeve section and join front to back with 5 chains under each arm. Work hdc around the body.
Step 4: Create the waist row
Work 2 rounds of dc evenly around.
Step 5: Begin puff stitch pattern
Puff stitch round:
Yarn over, insert hook in stitch, pull up a loop. Repeat this 3 or 4 times in the same stitch. Yarn over and pull through all loops, chain 1 to close the puff. Skip one stitch and repeat.
Work puff stitches all around the skirt. Join.
Step 6: Alternate texture rounds
Next round: Work 1 sc in each puff stitch and 1 sc in each space.
Next round: Work 2 dc in each chain-1 space between puffs.
Repeat these three rounds:
- Puff stitch round
- Sc round
- Dc increase round
Do this until the skirt is long enough.
Step 7: Add a fuller hem
On the final dc round, place 2 dc in every second or third stitch to widen the hem. Then add a shell border.
Step 8: Decorate the neckline
Work one round of sc and one round of crab stitch or picot edge if you want a fancy finish.
Step 9: Optional back closure
If you prefer, leave a small slit at the back and sew in one button with a loop made from chains.
Image for this dress:
A textured crochet baby party dress with puff stitches, a full skirt, and a refined scalloped hem in cream, lavender, or pale blue yarn.
4. Granny Square Baby Dress
This crochet baby dress combines classic granny square charm with a playful and colorful look. It is especially cute when made in soft pastel stripes.
Step-by-Step Instructions
Step 1: Crochet the front granny square
Start with a magic ring.
Round 1: Chain 3, 2 dc, ch 2. Repeat 4 times to form a square. Join.
Round 2: In each corner space work 3 dc, ch 2, 3 dc. Along each side work 3 dc in the side space. Join.
Continue increasing until the square is wide enough to cover the baby’s chest.
Step 2: Crochet the back granny square
Make a second square exactly the same size.
Step 3: Join shoulder seams
Place the squares together at the top and sew or crochet the upper corners to form shoulder seams, leaving the center open for the neckline.
Step 4: Join side seams partially
Join each side from the bottom of the square upward, leaving enough space for armholes.
Step 5: Add the skirt
Attach yarn at the lower edge of the joined squares.
Round 1: Work 2 dc in each space and 1 dc in each stitch all around the bottom.
Round 2: Work dc evenly around.
Round 3: Increase by working 2 dc in every fourth stitch.
Round 4: Work evenly.
Repeat these two skirt rounds until the dress reaches the desired length.
Step 6: Add decorative rows
You can switch colors every two rounds, or add granny clusters:
Work 3 dc in one stitch, skip 2 stitches, repeat around.
This creates a charming traditional crochet look.
Step 7: Finish armholes and neckline
Work one or two rounds of sc around the neckline and armholes. For extra cuteness, add a picot edge.
Step 8: Hem border
Make a shell border or lacy edge at the bottom.
Step 9: Embellish if desired
Add a tiny crocheted flower, bow, or contrasting trim to the chest area.
Image for this dress:
A colorful granny square crochet baby dress with pastel blocks, a gathered skirt, and playful handmade trim.
5. Button-Back Lace Baby Dress
This crochet baby dress looks especially elegant and makes a wonderful gift for birthdays, christenings, or photo sessions. The button-back opening makes dressing easier.
Step-by-Step Instructions
Step 1: Work flat for the yoke
Chain 50. Do not join.
Row 1: Hdc in the third chain from hook and in each chain across. Turn.
Row 2: Chain 2, hdc across. Turn.
Working flat creates the opening for the buttons in the back.
Step 2: Shape the yoke with increases
Place markers to divide the row into:
- Front
- Sleeve
- Back
- Sleeve
- Front extension
On the next rows, work hdc across, and at each marker make hdc, ch 1, hdc to create the yoke increases.
Repeat this for 5 to 7 rows until the yoke is large enough to fit around the shoulders.
Step 3: Form the armholes
Work across the first front section, chain 4, skip sleeve stitches, work across back, chain 4, skip second sleeve, work across final front section.
Step 4: Crochet the body flat or joined
At this point, you can continue flat for a full button-back dress, or join under the arms and work in rounds.
For a classic button-back look, continue flat.
Step 5: Begin lace skirt
Row 1 of skirt: Chain 3, dc across with increases every third stitch. Turn.
Row 2: Chain 4, skip 1 stitch, dc in next stitch across. Turn.
Row 3: Work 3 dc into each chain space across. Turn.
Row 4: Dc in each stitch across. Turn.
Repeat rows 2 to 4 until the skirt is the desired length.
Step 6: Create button bands
Along one back edge, work one row of sc evenly.
Along the other back edge, work sc but add button loops by chaining 2 and skipping 2 stitches at even intervals.
Step 7: Add finishing edges
Work picot edging along neckline, hem, and sleeve edges for a dainty finish.
Step 8: Sew on buttons
Attach 3 to 5 small buttons down the back, matching the loops you created.
Step 9: Weave in ends and block lightly
Use a yarn needle to weave in ends. Lightly block the dress so the lace opens beautifully and the shape becomes more polished.
Image for this dress:
An elegant crochet baby lace dress with a button-back opening, delicate picot trim, and flowing skirt in ivory or blush yarn.
Final Tips for Crocheting Baby Dresses
When making any crochet baby dress, softness and comfort matter just as much as beauty. Always choose baby-friendly yarn that feels gentle on the skin. Avoid heavy embellishments for very young babies, and make sure buttons are sewn on securely. If you are gifting the dress, a handmade hanger, matching headband, or little crochet booties can make the set feel even more special.
These five crochet baby dress ideas offer a beautiful variety of styles: classic, sleeveless, textured, colorful, and elegant. They are perfect for practicing garment construction while creating something truly precious.